

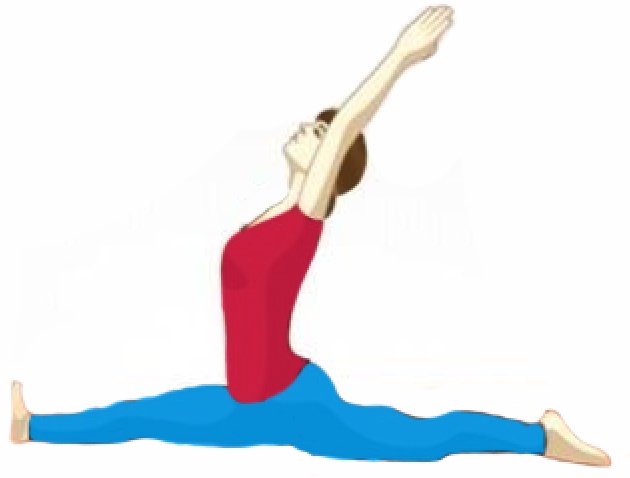
Monkey Pose or Hanumanasana comes under the intermediate level of asana. It is an intense leg stretching exercise, in which your legs need more flexibility and stretching. So, before attempting this pose, you must have a master’s in a basic level of yoga. This stance denotes the mammoth jump made by BajrangBali to achieve Lanka from India.
Hanuman is a Hindu god who looks like a monkey, According to Indian Mythology Lord Hanuman is the strongest, intelligent and powerful character in Ramayana, and he is 11th Rudra incarnation of Lord Shiva, so Rudra, BajrangBali is another name of Hanuman.
Level of Asana: – Intermediate
Navigator
Preparatory Poses
Follow-up Poses
Steps of Hanumanasana (Monkey Pose)
 First put down your both knees on the floor, note that your knees are flabbily apart. Now keep your right foot in the forward direction and lift the inner sole. Make sure that your outer heel should be touching the ground and Breathe in.
- After that breathe out and slowly bend your torso towards the forward direction, during this touch the ground by your fingertips.
- Then, place your left knee backward till the front part of your foot and the knee touches the floor. During this, slowly move your right leg forward and it touches the ground.
- To complete off the posture and come into a split position, keep sliding your right foot forward. Ensure the toes are indicating upwards. Move your left foot in reverse, ensuring the toes are touching the ground.
- Lift up your arms over your head and combine your palms. Extend your arms and delicately curve your back until you are agreeable. This breath normally.
- Remain in the pose for about 30 to 60 seconds or as long as you are comfortable.
- Discharge the stance by moving your body weight on hands. Press your hands on the floor immovably, and but both your feet back to the initial stage.
- Repeat the same process with your left leg in the forward direction and right leg in a backward direction.
Hanumanasana Beginner’s Tips
It is not a fundamental yoga stance, and it takes serious practice to play out the split. When you rehearse Hanumanasana (Monkey Pose) at first, you can utilize a cover under your lower legs and knees to make it more agreeable. Increment the length of the middle by squeezing the back foot into the floor. Daily practice is needed coz it is a very intense pose, so without practices of basic asana don’t do this posture immediately.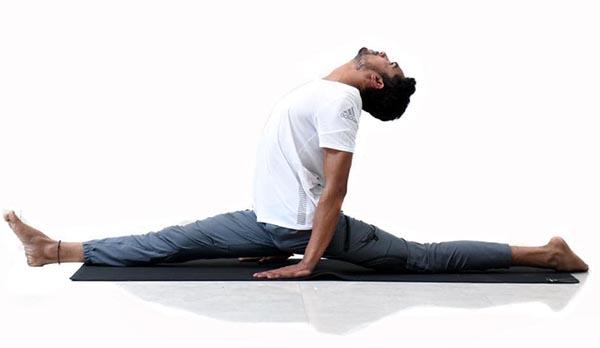
Benefits of Hanumanasana (Monkey Pose)
- Hanumanasana Stretches and strengthens groin region, hamstrings and thigh muscles.
- It stimulates the digestive and reproductive organs, by boosting their functioning.
- Monkey Pose Makes hips flexible if practice daily.
- Stretches back muscles also.
- Helps to release tension and stress.
Precautions:
Practice this pose under the supervision of an expert trainer coz it is not a basic yoga asana. If you don’t do it the right way then you might be hurting yourself. Avoid this pose if you have groin injury or in hamstrings.
In starting split your legs as much as you can.